


The Bathroom Comes First
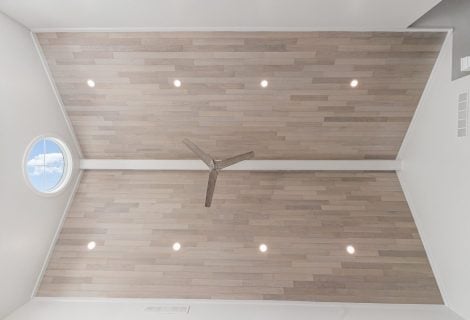
I’m so happy to be sharing the first room finished at the Itsy-Bitsy Cottage! Come and see our new nautical bathroom and get inspired! This 9′ x 9′ square bathroom is quite large considering that the entire cottage including the front porch is only 744 ft.² In addition to the toilet, sink vanity cabinet, and shower it houses a stacked washer and dryer.
 Before Cottage Renovation

When we purchased Itsy Bitsy there was a 20 inch oak vanity that was rotting inside and a tall oak cabinet that separated the sink from the toilet. It visually blocked off so much space in this large room. I knew that I wanted to remove the cabinet but had no idea where I would put all our towels and sundries since storage is at a premium. As soon as we closed we changes out the toilet! I purchased these peel and stick tiles temporally for the floor until the vinyl gray washed planks came in from BuildDirect. At the highest point, the ceiling peak is 12 feet high. I knew that I needed to add some sort of interest to the walls. The walls needed so much patching and replacing the drywall was out of our budget!

Beadboard Hacks
I purchased 4′ by 8′ sheets of T1-11 exterior siding at Home Depot. It was much more cost effective than using tongue & groove and the wood-grain texture added to the rustic charm. We cut them in half and applied them around the entire room and added a thin wood trim cap and new base and shoe moulding. I painted it all semi-gloss white. My nautical bathroom was starting to shape up! 
Adding Color
While shopping at HomeGoods one day I found this amazing wooden cut out that read waves. Right there and then it hit me! I decided on a gradient wave mural. I used leftover paint from other painting jobs and hand painted the waves. It was so simple. I drew out the waves with a pencil and simply filled in the lines. I knew that my vanity had to have storage! This shabby chic furniture inspired 36″ wide vanity in distressed Pear Green was purchased at Home Depot. Although I’m not a huge fan of oil rubbed bronze fixtures I chose to match the widespread faucet and lighting fixture to the cabinet hardware on the vanity.
 Nautical Decor Accents
I was pleasantly pleased after installation how much I loved the contrast! I found a 33″ round wooden mirror that reminded me of a porthole. We added a little wooden stool, fun colorful striped towels, more nautical decor, large grey washed wicker baskets for towel and beach storage, and matching rugs also from HomeGoods. Striped custom made curtains made by my seamstress tie in all the colors to a “T”. Surprisingly this room tucked behind the front door makes the most waves!


Lisa Frey
I LOVE it Amie!
memehillstudio
Aww thank you so much Lisa! I hope you follow along on this crazy renovation. xoxox
Colleen Lang
While I know you are a painter extraordinaire, did you find it difficult to paint the T1-11? Do you have any tips for painting it? I too have a 700 SF cottage, it’s red too, and your blog is divine inspiration! Thanks for sharing! 🙂
memehillstudio
Hi Colleen- Yes I was more difficult than a smooth wall but we used a nappy roller and gave it a few coats without a problem. Thank you so much for your kind words!
memehillstudio
BTW where is your red little cottage?
Shelley
Did you find that this mirror was not water resistant? We had one just like it from home goods and the “stain” ran down the wall. Wondering if that happened to you and if so what you did to fix it.
memehillstudio
Hi Shelley_ There are water marks on the mirror from splashes but I don’t have any stain marks on my wall. Like any piece of artwork or mirror, when you clean it you should always spray onto a rag and never directly onto the frame or glass. You might want to seal the wood with a water based urethane.